Embroidery Hoop Craft w/ Free Printable

After wading through much internet lore; navigating hours upon hours of trial and error-debunking many internet promises, mind you….. here is THE BEST WAY, I have found yet to print on fabric; from HOME, using your very own INKJET printer. (I haven’t tried this yet with a laser printer, but I am guessing it will work just fine, too). This little beauty is quick, easy, and stinkin’ adorable!
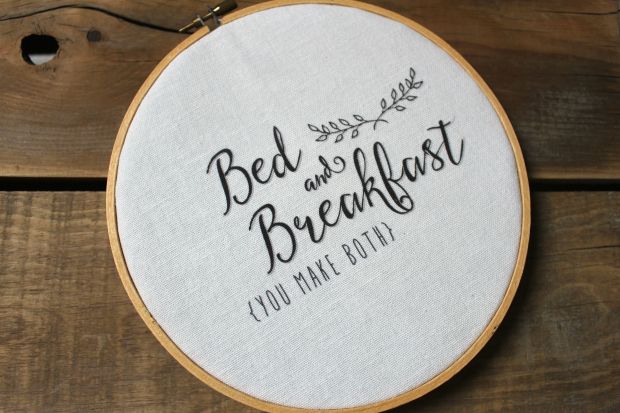
bnbedited

What you will need:

-An embroidery hoop……… (I found mine at Goodwill for like 10 cents).

-Fabric……….. (I used an old curtain I had hanging around- no pun intended).

-Heat n’ Bond……….. (You can find this at any craft or sewing store)

-An iron

-A digital file that can be printed (your design)….. (I got mine HERE)

-Scissors

-And a ruler


Let’s get started!

I used contact paper in this picture so that you could see it better since both the Heat n’ Bond and my material are white.

  1. Cut your Heat n’ Bond to the size of “paper” you want to run through your printer.
  2. Iron it down to the fabric (according to the manufacturer’s instructions).
  3. Cut your fabric out around the edge of the Heat n’ Bond.

IMG_3211

4. Choose the image that you want to transfer to your material. You need to be careful about copyrights, especially if you are going to use this for a gift, or to sell.

5. As you can see below, I had to change the scale of my image to 50% so that it would print out the correct size and in the middle of the page.
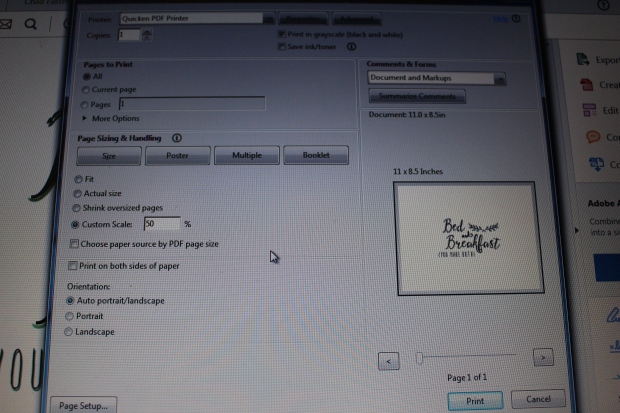
IMG_3236

Hint: print your image out on regular paper first, to make sure that it is just the way you want it before you run your fabric through.

6. Now you are ready to print. Make sure that you place your fabric in your printer the correct way- so that you are printing on the fabric not on the Heat n’ Bond.

IMG_3212

For my printer, I had to lay mine FABRIC DOWN.

7. PRINT and voila!

IMG_3238


8. Next, I laid my embroidery hoop over the design and trimmed about a 1/2 to 3/4 of an inch around the hoop.
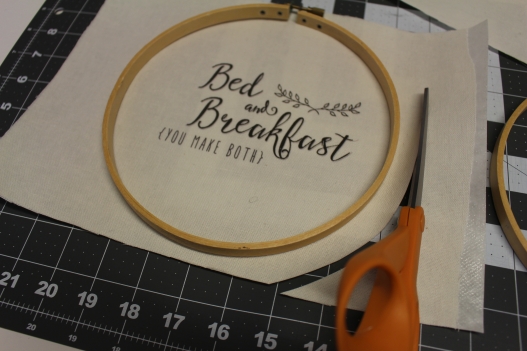
IMG_3239.jpg

9. Attach the hoop. You may want to trim a little bit more once it was all together. You will want to trim as close to the rim as you can so that it will lay flat on your wall.

IMG_3240

10. Give it to a friend, or find a cute place in your home to hang it up, because really, it is so DARN awesome you really won’t want to part with it.
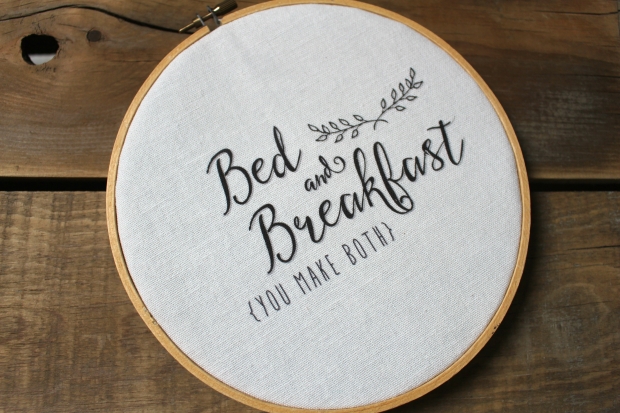
bandb

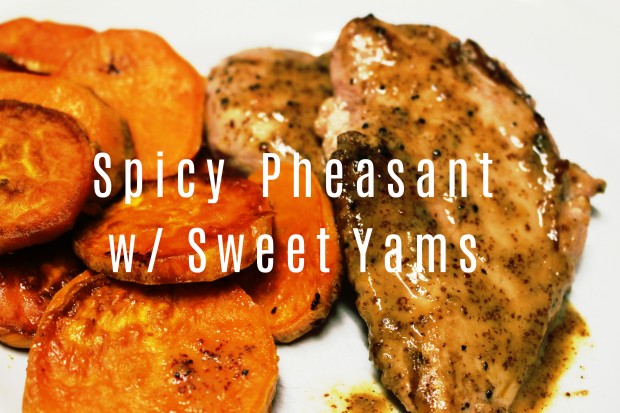
Spicy Pheasant and Sweet Potatoes

So I figure one of the great things about living in Montana, is learning to cook in Montana. And what I mean by that is, learning to cook fresh, wild game. My husband loves to hunt, and we both love to eat lean and clean, nature fed meat. We believe it is the most humane, ethical, and healthy way to eat meat.

Here is a new dish that we tried out tonight. The original recipe called for chicken, found here. But I am sharing the re-write of the recipe which includes adaptations for the pheasant; and of course, includes the sweet potatoes that pair up oh-so-nicely with this spicy, savory dish.

sweetpotpheas

What you will need:

2 Sweet Potatoes                                                1 TBS Lite Rice Vinegar

4-8 TBS Olive Oil                                               Salt and Pepper to season

2-4 Pheasant Breasts                                       1-2 TBS Butter

1/2 C. Spicy Horseradish Mustard

1/4 C. 100% Pure Maple Syrup


You will want to prep the sweet potatoes first, as they will take the longest to bake.

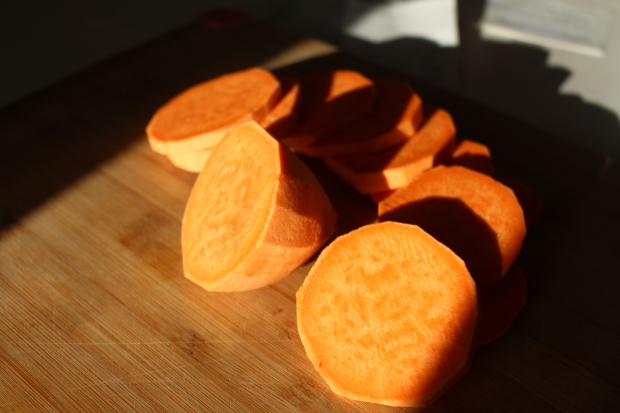
Start by peeling your potatoes and slicing them into 1/4 inch rounds.


IMG_3033

Drizzle a moderate amount of extra-virgin olive oil in your well seasoned cast iron pan (a glass or ceramic baking dish will also work fine).

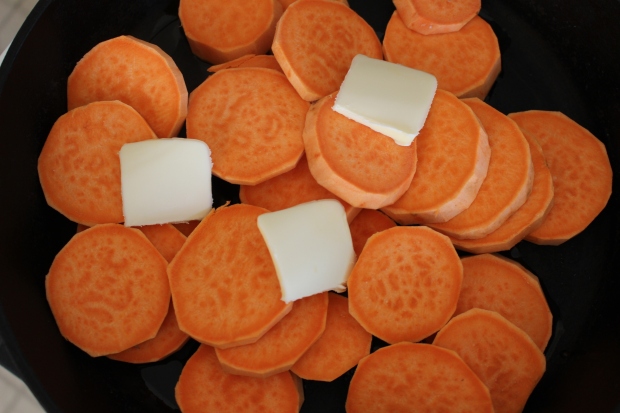
Place your sweet potatoes in the pan and stir them around. Place a couple pats of butter on top.

IMG_3039


Once they are ready for the oven, and your temp has reached 400 degrees F., go ahead and stick them in. I like to bake mine for 30-45 minutes, or until tender. Stir or turn the potatoes once or twice (every 10 minutes or so) while baking.

When done, lightly salt the potatoes. Turn the oven off and let them stay in until you have your pheasant ready to go (which won’t take very long at all).

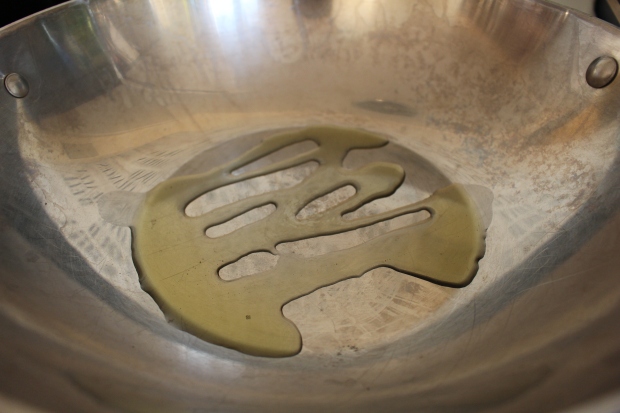
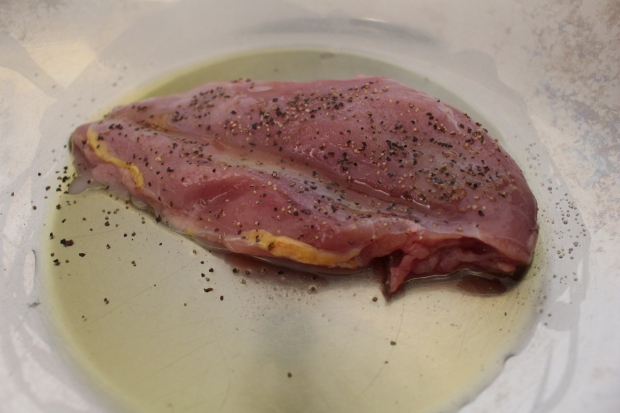
Start by drizzling your skillet with olive oil and turn the burner on to MEDIUM. (Pheasant needs to cook at very low temperatures or else it gets super TOUGH– this method will leave you with tender and juicy morsels).

IMG_3048

When the skillet is up to temp. Place the pheasant in the pan, it is okay to put more than one breast in at a time. Lightly  cover the top of the pheasant with olive oil, salt and pepper.


IMG_3054

The pheasant will start cooking through, slowly– maybe 3-5 minutes per side.

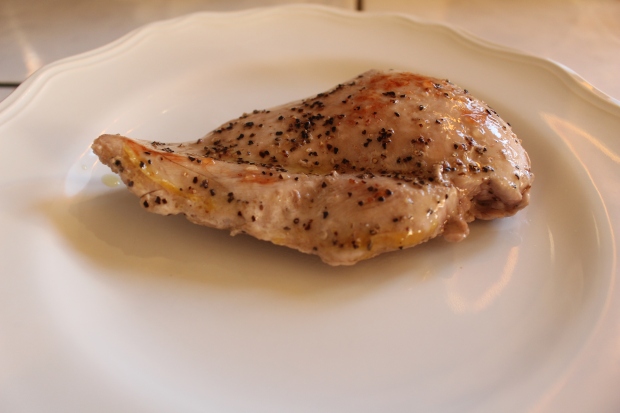
When your breast is lightly browned on each side, take it out of the pan and turn your burner up to high. When the oil starts to sizzle, put the breast back in the pan, just 10-15 seconds on each side. It should look like this:

IMG_3056


Take it out of the pan and let it rest while your are mixing the sauce and letting your oven get up to temp (300 degrees F.)– If you left your potatoes in, now is a good time to take them out.

For the sauce:

Combine Horseradish Dijon Mustard, Maple Syrup, and Rice Vinegar in a jar or bowl.

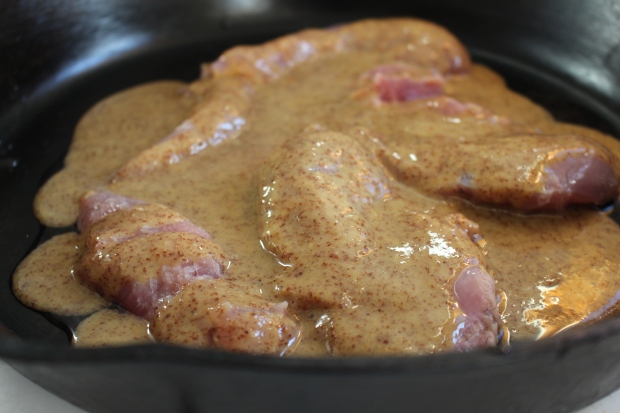
Place your pheasant in a cast iron pan (a glass baking dish works fine, too!) and drizzle the sauce all over. Place in the oven and bake for an additional 10 minutes or until the center is no longer pink. Don’t let it go too much longer, as that is when your meat will start to toughen up.

(I apologize, this picture was from an earlier trial run- at this point you should be drizzling the sauce over cooked pheasant).

IMG_3040.JPG

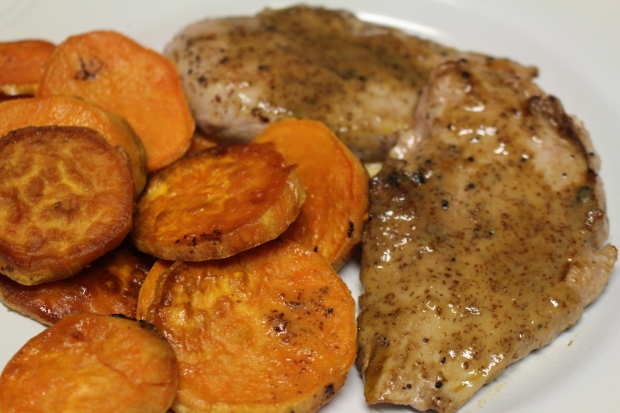
When your pheasant is done, plate it up and enjoy the sweet, spicy, savory explosions of flavor. This sure was a big hit at our house, I hope it is at yours as well!


IMG_3066